How to Create a Windows 10 Bootable Flash Drive for a Fresh Install

Installing a fresh copy of Windows 10 can be a great way to rejuvenate your PC, solving performance issues, or just starting with a clean slate. To do this, you’ll need a bootable flash drive with Windows 10 on it. Here’s a step-by-step guide on how to create one.
Step 1: Obtain a Windows 10 ISO File
First, you need a Windows 10 ISO file, which is essentially a digital copy of the Windows 10 installation media. Here’s how to get it:
- Visit the Microsoft Website: Go to the Microsoft Software Download page.
- Download the Media Creation Tool: Click on “Download tool now” to get the Media Creation Tool, which helps you download the Windows 10 ISO.
- Run the Media Creation Tool: After downloading, run the tool. You may be prompted by User Account Control to allow the app to make changes to your device.
- Create Windows 10 Installation Media:
- Select “Create installation media (USB flash drive, DVD, or ISO file) for another PC” and click “Next”.
- Choose your preferred language, edition, and architecture (64-bit or 32-bit).
- Select “ISO file” when prompted and click “Next”. Choose a location to save the ISO file, and the download will begin.
Step 2: Download and Install PowerISO

To create a bootable flash drive, you need software capable of handling ISO files. PowerISO is a popular choice for this purpose. Here’s how to download and install it:
- Visit the PowerISO Website: Go to the PowerISO download page.
- Download PowerISO: Choose the version suitable for your system (32-bit or 64-bit) and download the installer.
- Install PowerISO: Run the downloaded installer and follow the on-screen instructions to complete the installation. Make sure to allow PowerISO to associate itself with ISO files for easier access.
Step 3: Create a Bootable Flash Drive Using PowerISO
Now that you have the ISO file and PowerISO installed, follow these steps to create a bootable flash drive:
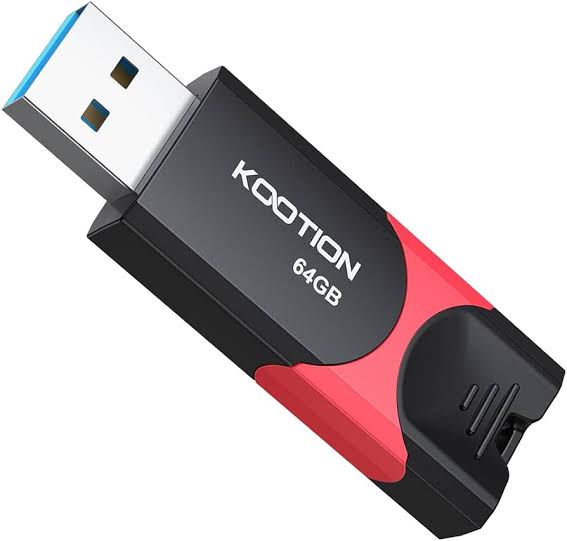
- Insert a USB Flash Drive: Ensure your USB flash drive is at least 8GB. Insert it into a USB port on your computer.

- Open PowerISO: Launch PowerISO from your desktop or start menu.
- Open the Windows 10 ISO File: Click “File” in the top-left corner, then “Open”, and navigate to where you saved the Windows 10 ISO file. Select the file and click “Open”.
- Create a Bootable USB Drive:
- Click on “Tools” in the menu bar and select “Create Bootable USB Drive”.
- A dialog box will appear. In the “Source image file” field, ensure the path to your Windows 10 ISO file is correct.
- In the “Destination USB Drive” field, select your USB flash drive from the dropdown menu.
- Start the Process: Click “Start” to begin the process of creating your bootable USB drive. You may be warned that all data on the USB drive will be erased. Ensure you have backed up any important data, then click “OK” to proceed.
- Wait for Completion: The process may take some time depending on your system and USB drive speed. Once completed, PowerISO will notify you, and your USB drive will be ready to use.
Step 4: Install Windows 10
With your bootable USB drive ready, you can now proceed to install Windows 10 on your PC:
- Insert the USB Drive: Plug the bootable USB drive into the PC where you want to install Windows 10.
- Restart the PC: Boot from the USB drive. You may need to enter your BIOS/UEFI settings to set the USB drive as the primary boot device. This usually involves pressing a key like F2, F12, DEL, or ESC right after turning on your PC.
- Follow Installation Instructions: Once the PC boots from the USB drive, you’ll see the Windows Setup screen. Follow the on-screen instructions to install a fresh copy of Windows 10.
Congratulations! You’ve successfully created a Windows 10 bootable flash drive and are ready to install a fresh copy of Windows 10 on your PC. Enjoy your new, clean system!
